Easy Dogs to Draw on Whit Board
Draw a pencil portrait of a dog

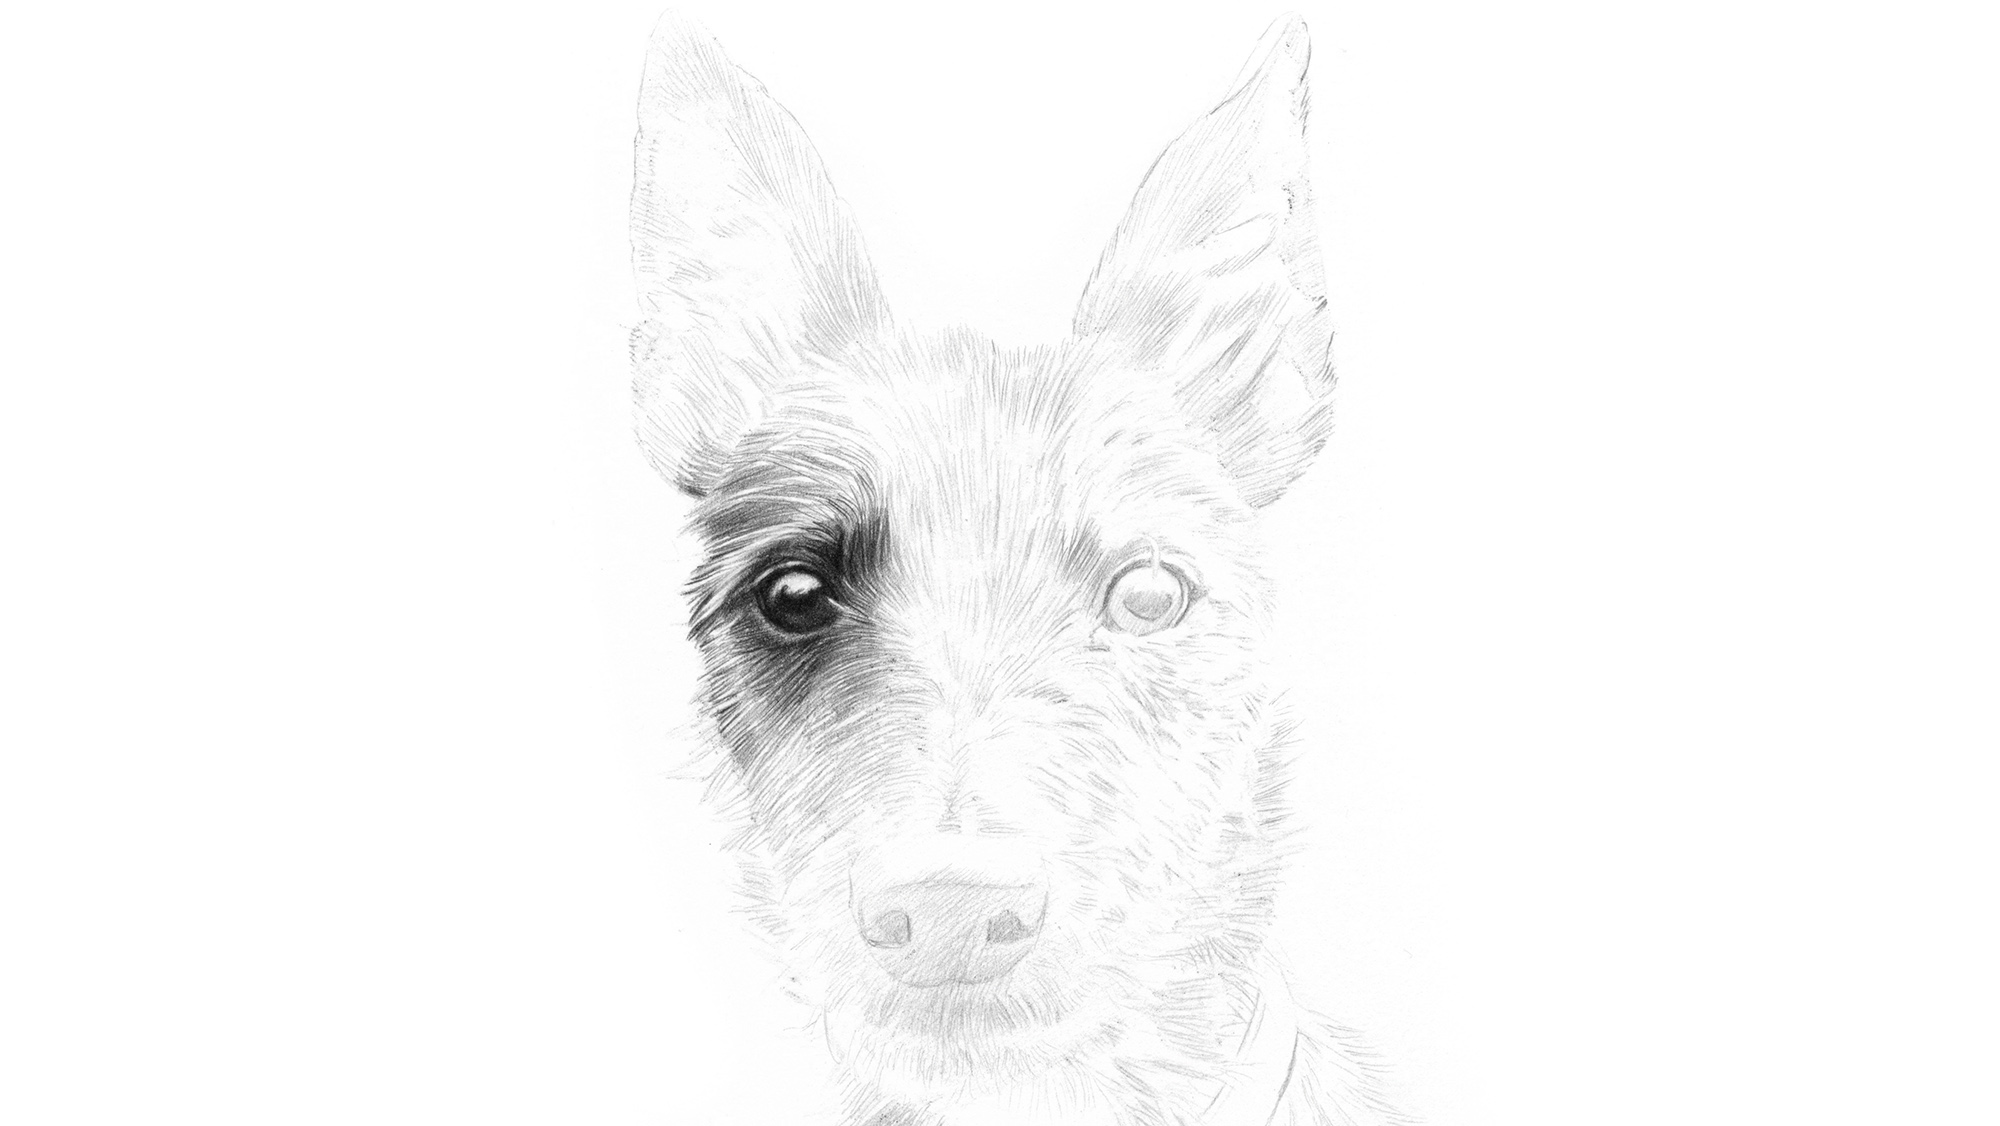
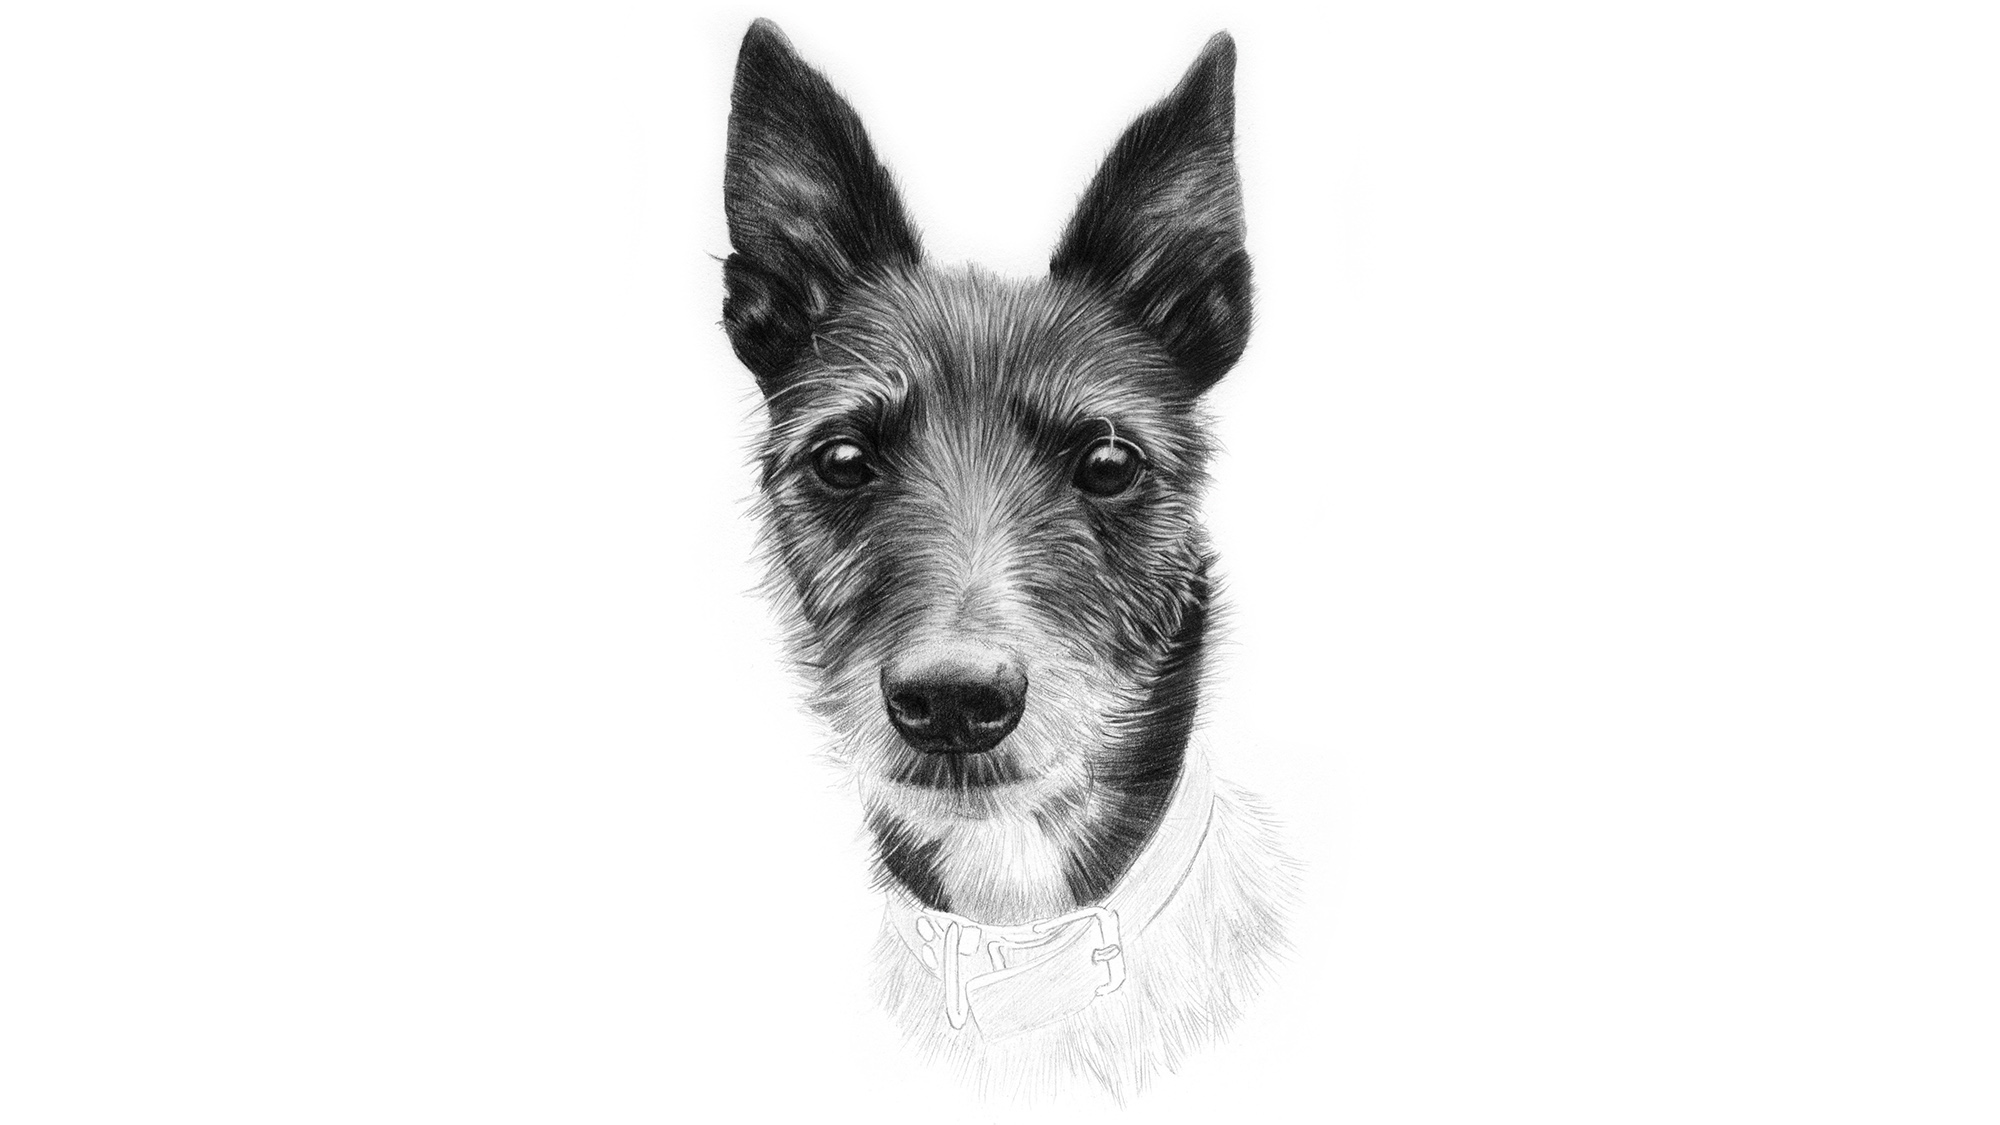
When drawing pet portraits, you don't just need to know how to draw animals (opens in new tab): the task is capture the personality of that particular animal. You can't just draw any dog. This sweet dog is Poppy, and she was drawn from a reference photo from her humans.
In the video below, you'll see how this dog drawing came together, and underneath the video you can read step-by-step instructions to guide you through how to draw (opens in new tab) your own dog portrait. For more dog-drawing advice, see our guide on how to draw a dog. Want to focus on humans? Learn how to draw a face. Plus, you may also want to get equipped with one of the best pencils.
The paper used here is Italian Fabriano Hot Pressed watercolour paper, and the pencils are a variety of Derwent, Steadler Mars Lumigraph and Faber Castell 2B, 4B and 6B pencils. Faber Castell's Putty eraser and a Helix battery-operated pencil sharpener complete the drawing kit we used here. Now let's get started.
- How to draw and paint - 100 pro tips and tutorials
01. Get the initial drawing right

Artists use a variety of different techniques to achieve their initial drawing. These include using a grid method, sketching, tracing and using projectors. However you get your initial drawing on paper, the key is to take your time and don't press too hard. This initial sketch was made with a 2B clutch pencil. Make sure your outline drawing is correct before adding tone.
02. Start adding the tone
Once you're happy with the initial drawing, start to add detail and tone. Here a 4B Faber Castell pencil helped to build it up. It's possible to work across the entire portrait at once and build up, or to work on single areas at a time. We're taking the latter approach in this portrait, starting with the eyes to bring the dog alive from the outset.
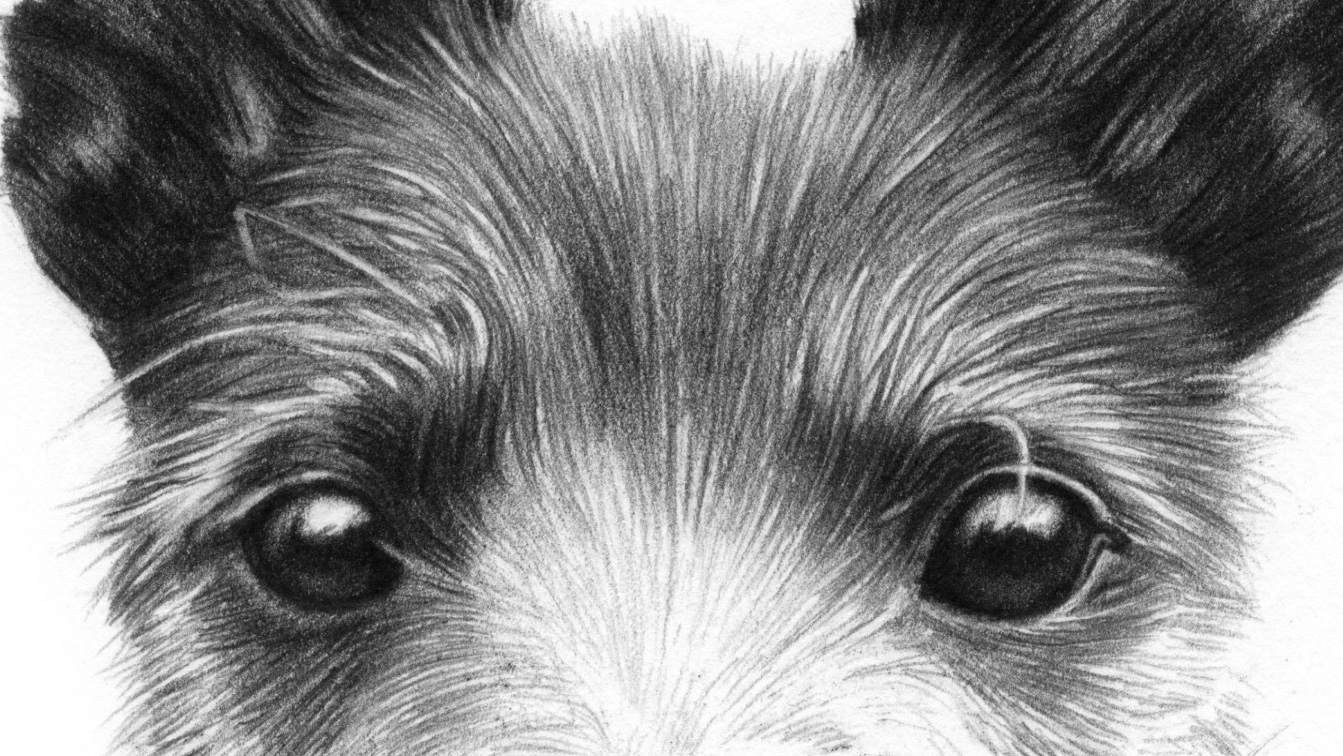
03. Get the eyes right

The eyes are key, because it's the first place that anyone will look. They must have the illusion of being shiny and alive, so it's imperative to take your time in this area. Try to look at your reference photo and then back to your drawing constantly as you work. Leave the white of the paper for highlights and white fur. Build out from the eyes into the fur, still using the 4B to shade. Shade over the white patches of fur lightly, knocking back any areas that are overly bright.
04. Move on to the ears

The ears are great fun to shade, as you're dealing with a different texture to the rest of the dog. Poppy's ears are silky smooth with a few light hairs on top. Pay attention to the direction you shade in, to match the undulations of the dog's ears. Here we worked outwards, beginning nearest the head and shading out to the tips of the ears.
05. Build darker tones
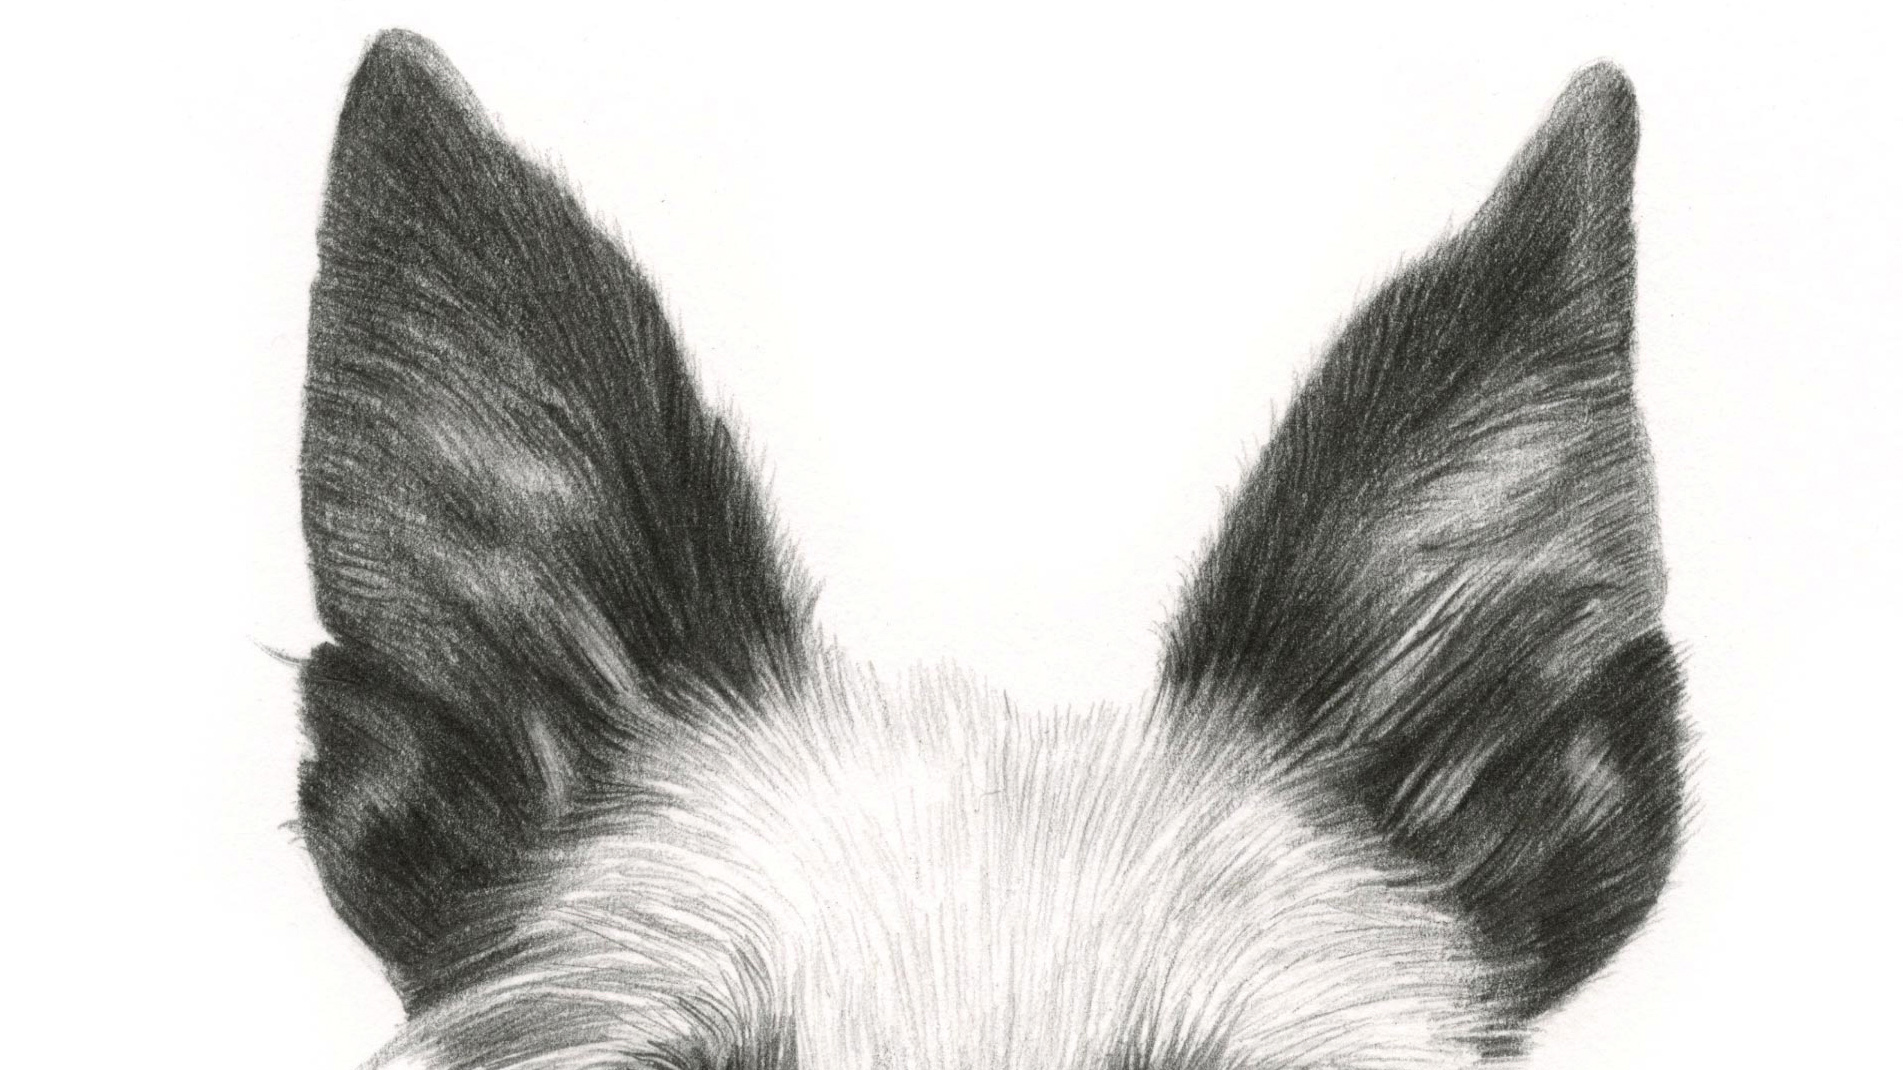
Now slowly build up the layers, starting to employ the 6B pencil, to achieve some darker tones. You don't need the ears to be completely finished at this stage, as you can check back on these and all of the parts once the main part of the dog's face is done. It'll be easier to judge later how much darker they need to be compared to the rest of the portrait.
07. Tackle the fur
Now build up the layers gradually on the top of the dog's head. Here we used a 4B Faber Castell pencil for the darker fur, keeping it sharp. Again, work in the direction of the fur, shading the darker areas in between the lighter flecks. Use a putty eraser, moulded to a point, to lift off any unwanted tones.
07. Shade the dog's face

Continue the same kind of fur texture as you work through each area of the dog's face, keeping your pencils sharp. With more surface area filled, here we could see that more tone needed to be added across Poppy's forehead and ears. We worked back into those areas with a Faber Castell 6B and the Steadler Mars Lumigraph 4B. The Lumigraph creates a darker tone.
08. Draw a wet nose
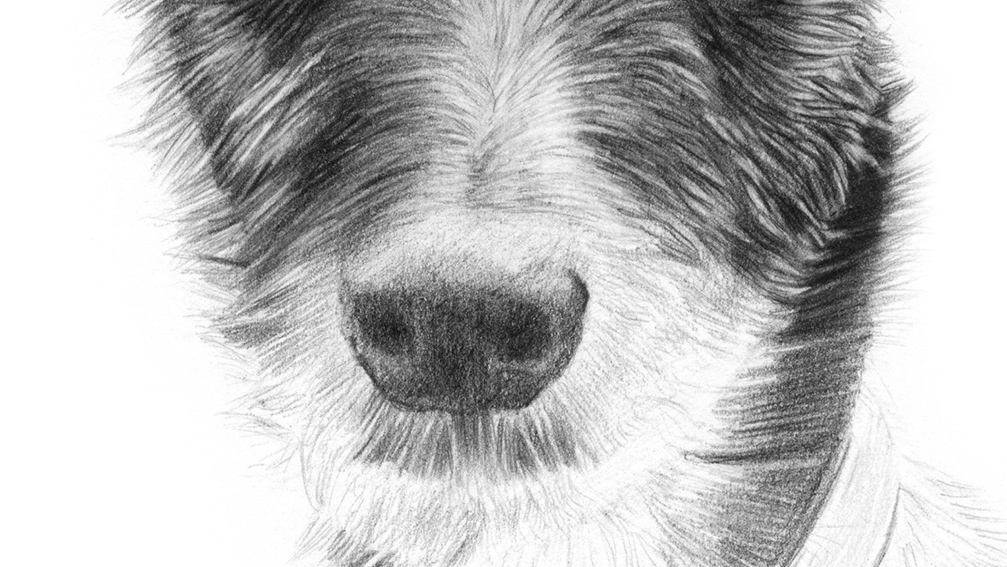
For the dog's wet nose, block the entire area in with a 4B pencil, using less pressure than before. Poppy's muzzle is much lighter in tone. To convey the delicate shape of her mouth area, we shaded between the white hairs on her upper lip. If you cover too many lighter hairs, just use a putty eraser to bring them back.
09. Bring all the elements together
At this point you job is to balance tones across the dog's whole face and ears, making sure the tones work overall. Using the 4B Steadler Mars Lumigraph, we started to add some darker tones into the nose, nostrils and darker fur. We softened the transitions and shading over areas using the Derwent HB pencil to pull everything together.
10. Know when to put down the pencil
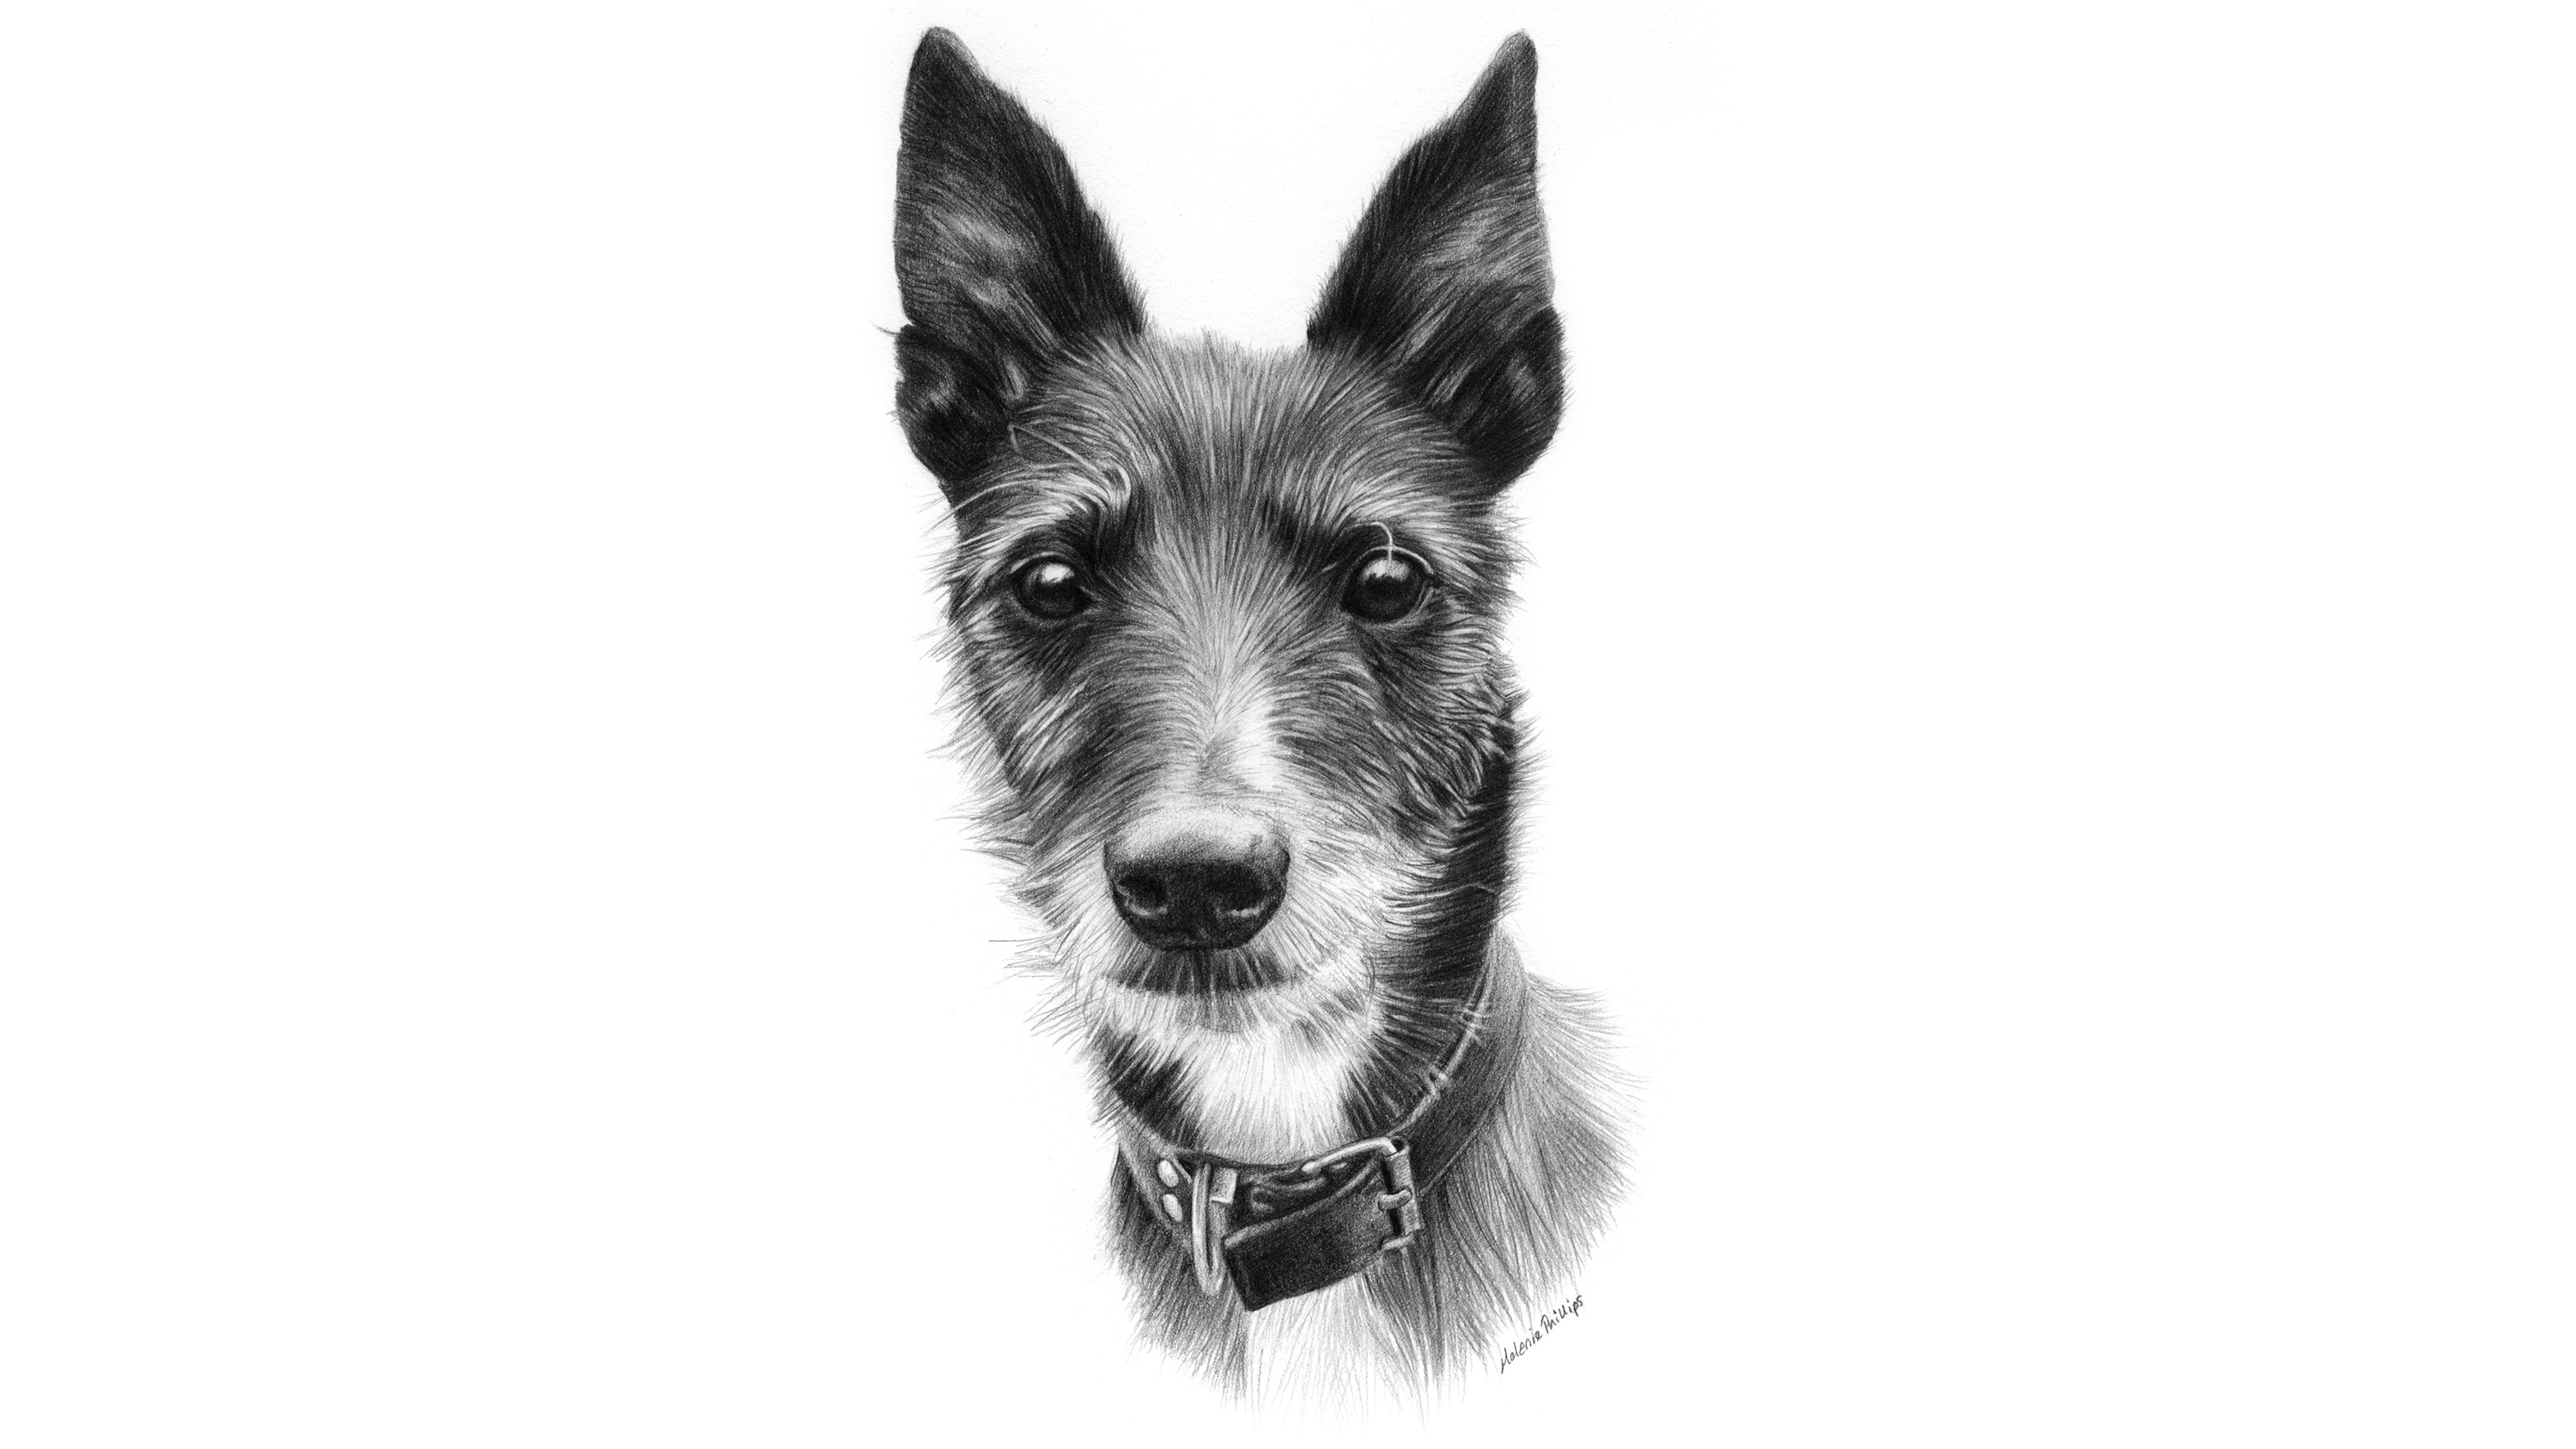
Take your time shading the collar to make sure it's correctly drawn, noting the highlights and shadows in the reference photograph. Keep the fur tones fairly light as you move down the chest to the edge of the drawing, so that it fades off nicely. Knowing when you are finished with a portrait is tricky. Stand back, look at it with fresh eyes and compare it with your photo. If you feel you've captured the dog in your reference photo, then you've achieved your goal.
This article originally appeared in Paint & Draw issue 8. Buy it here (opens in new tab) .
You might also like these related articles:
- How to draw a face
- How to hold a pencil correctly
- How to get started with oil painting

Thank you for reading 5 articles this month* Join now for unlimited access
Enjoy your first month for just £1 / $1 / €1
*Read 5 free articles per month without a subscription
Join now for unlimited access
Try first month for just £1 / $1 / €1
Related articles
Source: https://www.creativebloq.com/how-to/how-to-draw-a-dog-portrait
0 Response to "Easy Dogs to Draw on Whit Board"
Post a Comment